MUBI FEST
I was brought in to make OOH and motion assets for MUBI FEST. Along the way I built the tools that let marketing make them without us.
- Role
- Motion and OOH, then internal tooling
- Creative direction
- MUBI Lab
- Team
- George Fairweather
- Liam Johnstone
- Built with
- Figma Plugin API, After Effects, ExtendScript, React
The brief
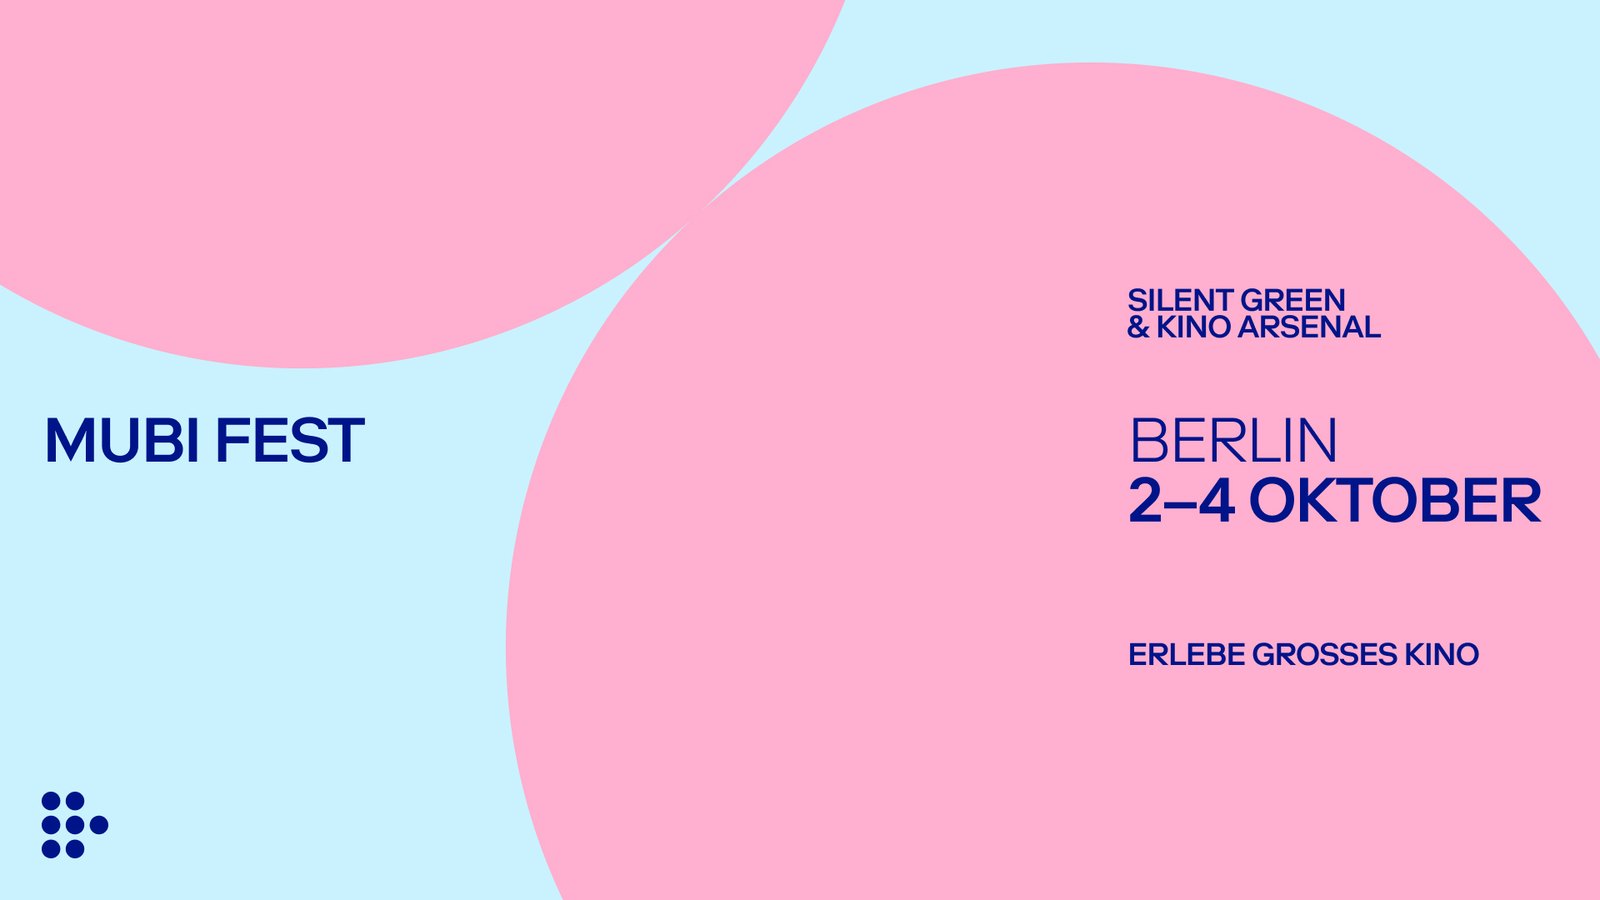
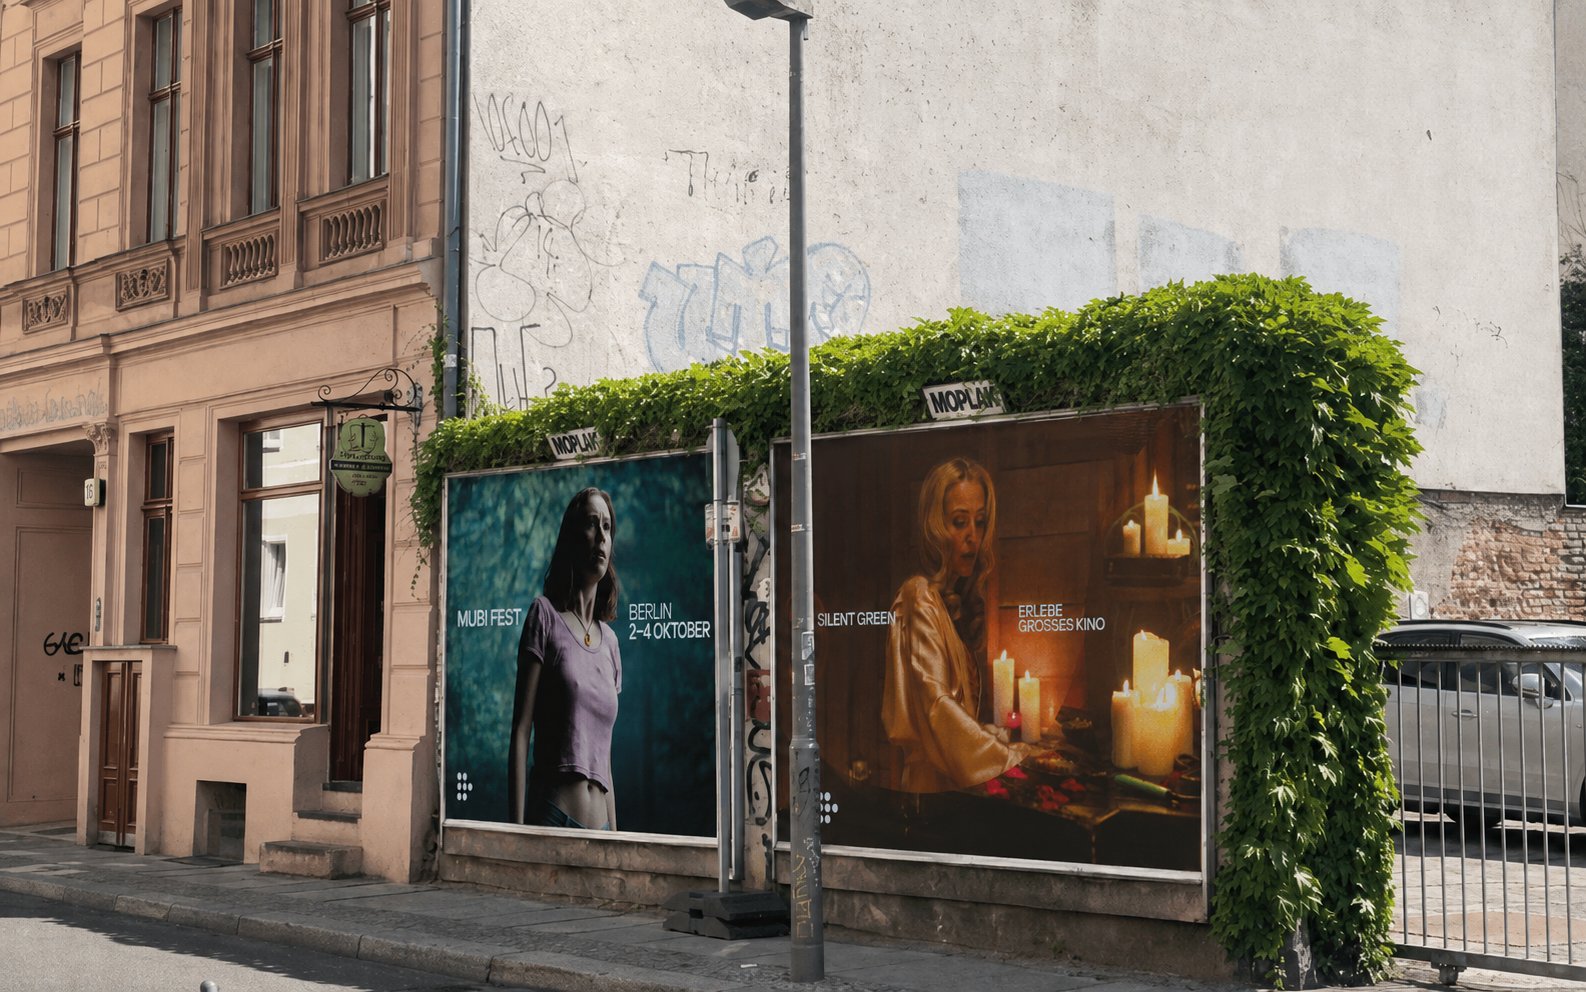
MUBI FEST is a film festival that tours ten cities. MUBI Lab created the identity for it, and I joined to help roll it out, making the OOH and motion assets for each stop.
It’s a lovely system to work in. Two large dots sit tangent to each other and turn slowly, and everything about a city, from its colour to where the dots meet, is decided by the system.
The system
Pick a city. Each one has its own colour and its own point on the frame, and the two dots always meet on that point while they turn. The positions come from where the city names sit on the style guide’s grid.
The work




The opportunity
Every city needed the same set of assets. Each one was made by duplicating the last city’s After Effects file and changing the colour, the copy, the dates and the point where the dots meet.
It’s careful work and it was taking up a lot of the brand team’s time. Most of it was mechanical though, so I suggested building tools that would let the marketing team make the assets themselves and free the brand team up for the more interesting work.
How it went
- Aug
Making the assets by hand. I made the OOH and motion in After Effects, one city at a time.
- 23 Aug
Reading the After Effects files. A script wrote every layer and keyframe out as data, so no number had to be guessed.
- 25 Aug
The first Figma plugin. It placed each city’s lockup and dots, with the motion timed from the files.
- 26 Aug
Adding the refraction. The CRM graphic is 3D in After Effects, so it needed its own geometry.
- 28 Aug
A second renderer on the web. Checking it against a frame from After Effects caught a bug in both tools.
- Sept
Handed over. Marketing now make each city’s assets themselves.
Reading the files
MUBI Lab’s templates only existed as After Effects files, and an .aep is a binary file that nothing outside After Effects can read.
So I wrote an ExtendScript that opens each file and writes every layer and keyframe out as JSON. The plugin and the web tool both build from that data, which is how their timing matches the original files.
- 1
After Effects
The templates, one .aep per city
- 2
ExtendScript
Writes out every layer and keyframe
- 3
JSON
The values as plain data
- 4
Figma plugin
Builds the frames from those values
Speed 0 · Influence 85.41% and 100%
cubic-bezier(0.854, 0, 0, 1)
After Effects stores each ease as a speed and an influence on either side of a keyframe, and that converts directly into the cubic bezier the plugin uses. This one is the refraction’s turn, which starts slowly and stops sharply.
The Figma plugin
You pick a city, name the file and tick the formats you need. The plugin lays out the lockup, puts the dots on that city’s point and binds every colour to the file’s variables.
A second tab makes the motion versions, with the timing measured from the original After Effects files, down to the easing on each word of the tagline. The one thing it doesn’t decide is which column the tagline sits in. That’s about how the whole composition feels, so it picks a side and the designer can move it.
City edition
Formats
Additional copy
Frames appear here when you press Generate.
The refraction
The CRM assets use a second animation, the refraction graphic. In After Effects it’s four comps nested inside each other, and the bottom one is 3D, which Figma can’t do.
So before building anything I pulled it apart to see what each comp was doing. Every number here is measured from the file, including the camera, which isn’t stored anywhere, so I worked it out from two rendered frames.
X rotation 8° · 1881px tall
Each circle is a 3D layer that swings round a pivot 709px behind it, so it comes towards the camera and then away again. After Effects draws it through its default camera, which is why it changes size and moves down the frame. It goes edge on at 74.6° and opens up again after that.
The web tool
Figma can only get close to the refraction, so I built a second renderer in the browser from the same spec. It draws the 3D properly and exports video.
Having two versions of one spec was a good check too. Comparing the web tool against a frame exported from After Effects found a bug that was cutting small notches out of the dots in both.
Conclusion
The part I enjoyed most was working out where the tools should stop. Nearly everything about moving the campaign to a new city could become a setting, but the balance of the tagline needed an eye, so it stayed with a person.
Marketing can now make on brand assets for a new city without opening After Effects, and the brand team spends that time on the work that needs them. Thanks to MUBI Lab for such a lovely system to work in.